Get a domain name, a server, and protect them with Cloudflare.

Get a domain name
In this tutorial, NameCheap will be used for demonstration. I have been their customer since 2004. Like their name, they sell domain-name cheap.

With every domain-name they sell, it comes with WHOIS-Guard. So the general public cannot find out your personal information with use of WHOIS tool.

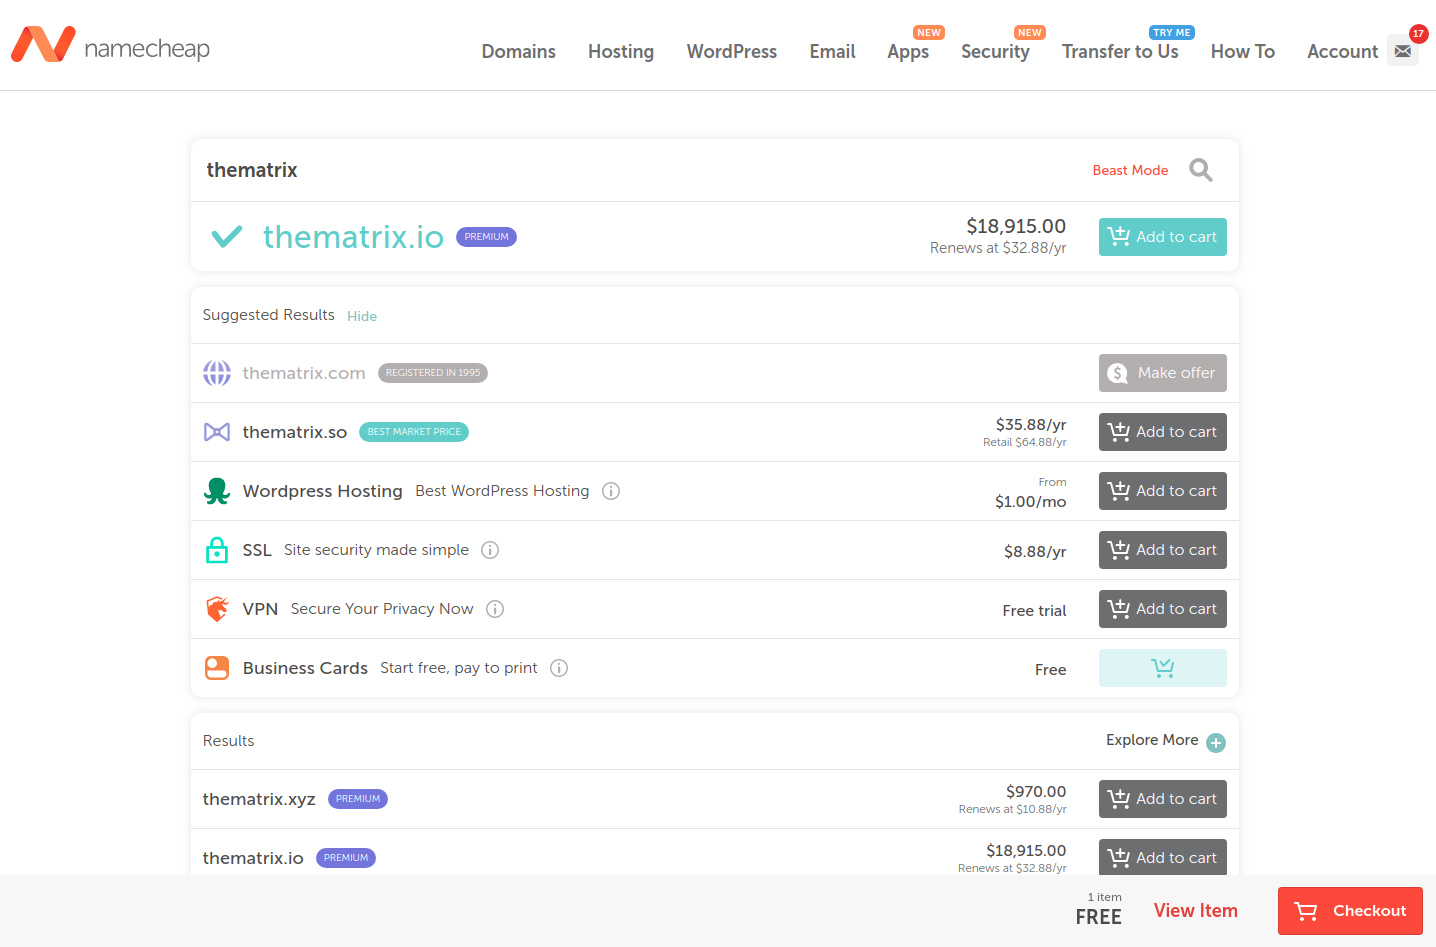
Use my affiliate link https://affiliate.namecheap.com/?affId=93950 please. Simply enter any name (or word) you like, and click the search icon.
Keep on searching and select the domain name you like. Finish the checkout process.
We will go back NameCheap later.
Setup domain name on Cloudflare
Go to https://www.cloudflare.com/ and register an account.
Click "+ Add a Site" buton https://dash.cloudflare.com/?to=/:account/add-site
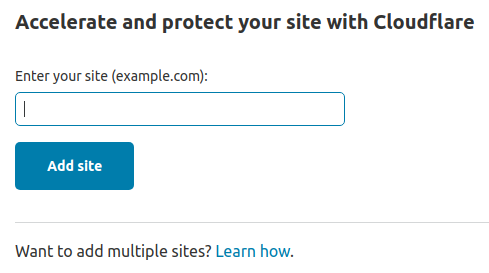
Enter the domain-name you have just purchased on NameCheap.
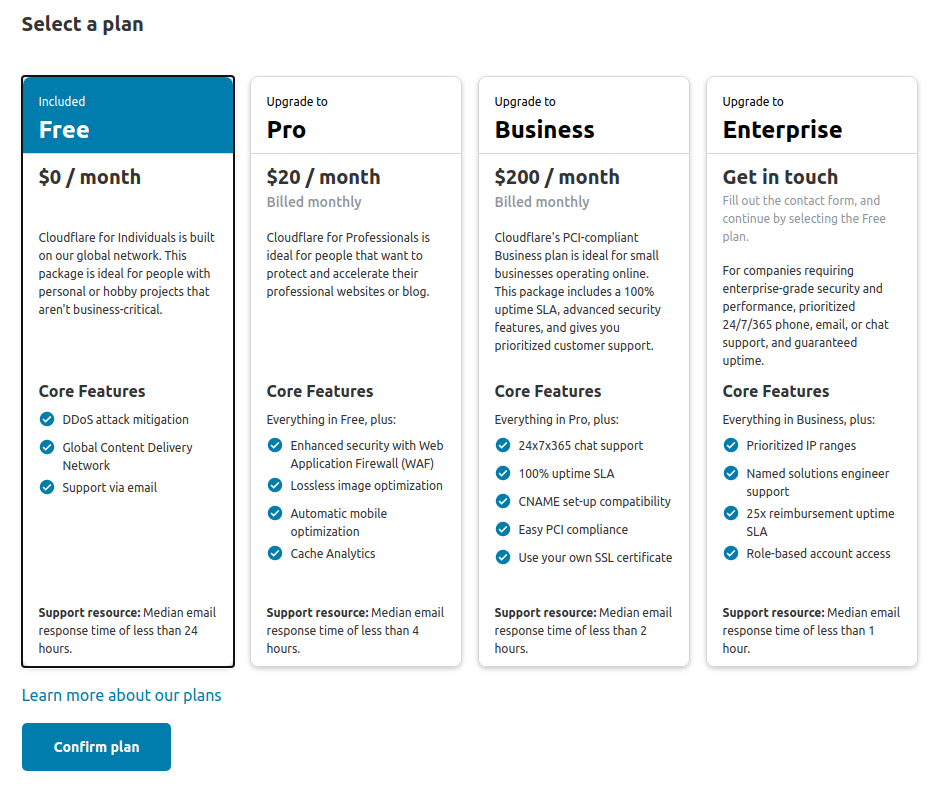
On the next page, select a plan. The "Free" plan should work well.
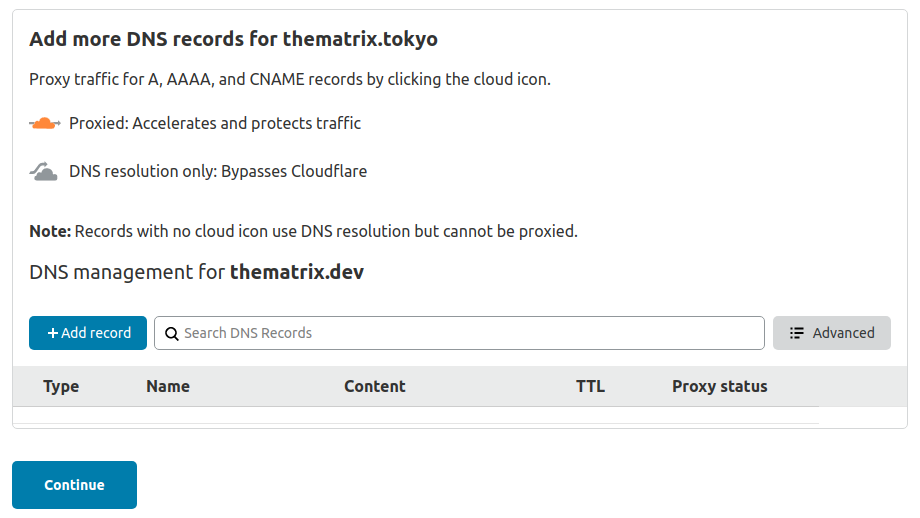
You can remove all the default DNS records. Continue.
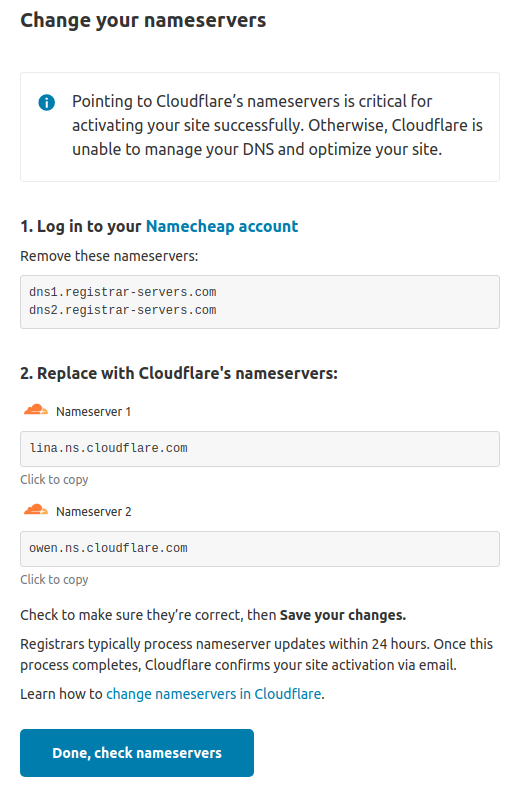
On the next step, you are guided to change the nameservers of your domain-name to Cloudflare's.
Go back to NameCheap
Go to "Domain List" https://ap.www.namecheap.com/domains/list/
Click "MANAGE" button of the domain-name you have just purchased.
On the "NAMESERVERS" section, select "Custom DNS". Enter the servers provided by Cloudflare. They should be:
lina.ns.cloudflare.comowen.ns.cloudflare.com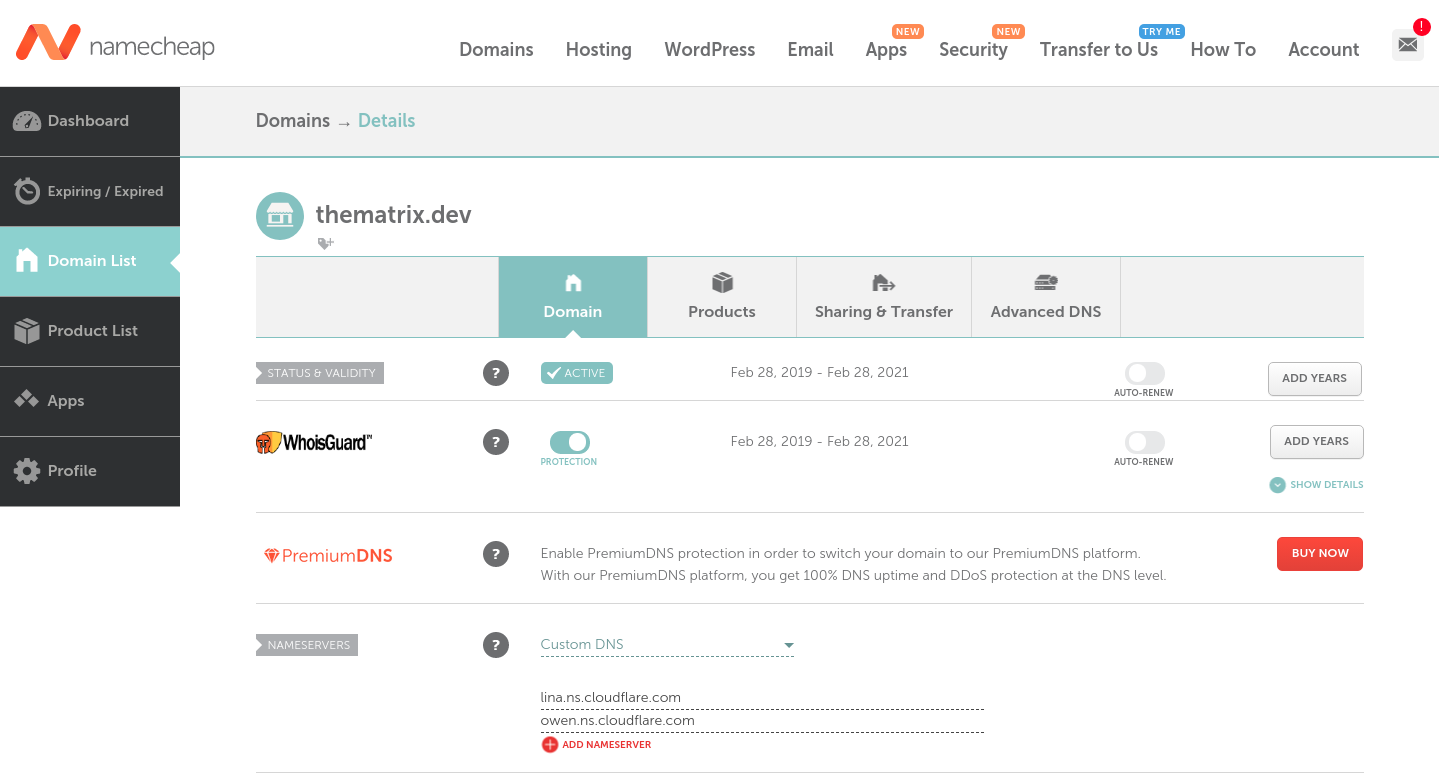
Remember to save the changes.
Go back to Cloudflare. Continue to next step.
Cloudflare should confirm the change very soon. When you are asked for more options like below, just use the default settings at this moment. Click "Done".
Get a server
I recommend DigitalOcean and Vultr. They provide inexpensive but good quality servers.
In this tutorial Vultr will be used, since I want to use a server in Japan.

Deploy a new instance on Vultr https://my.vultr.com/deploy/
Select "Cloud Compute".
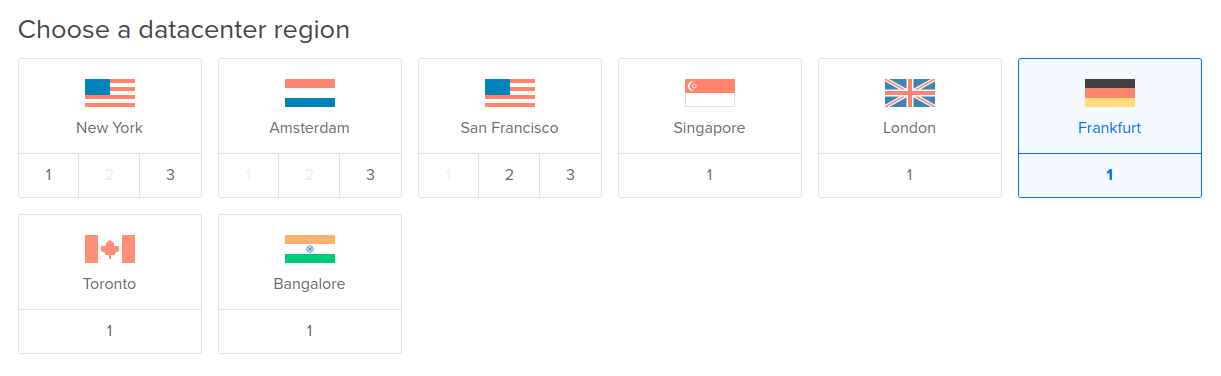
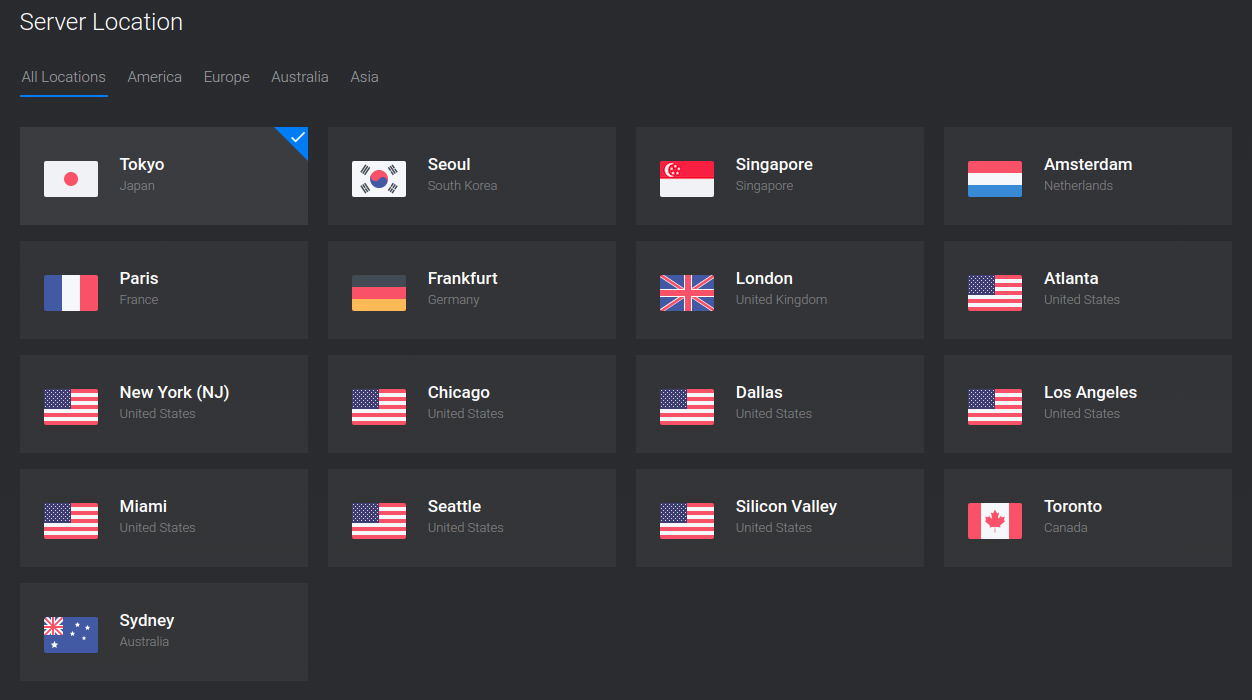
Choose the location for your server.
Select "Ubuntu 20.04" for "Server Type".
Select any "Server Size" you wish to afford.
Other settings are optional. You may input if you want.
Click "Deploy Now".
Wait for initialization. Afterwards you will see the IP address of your server.
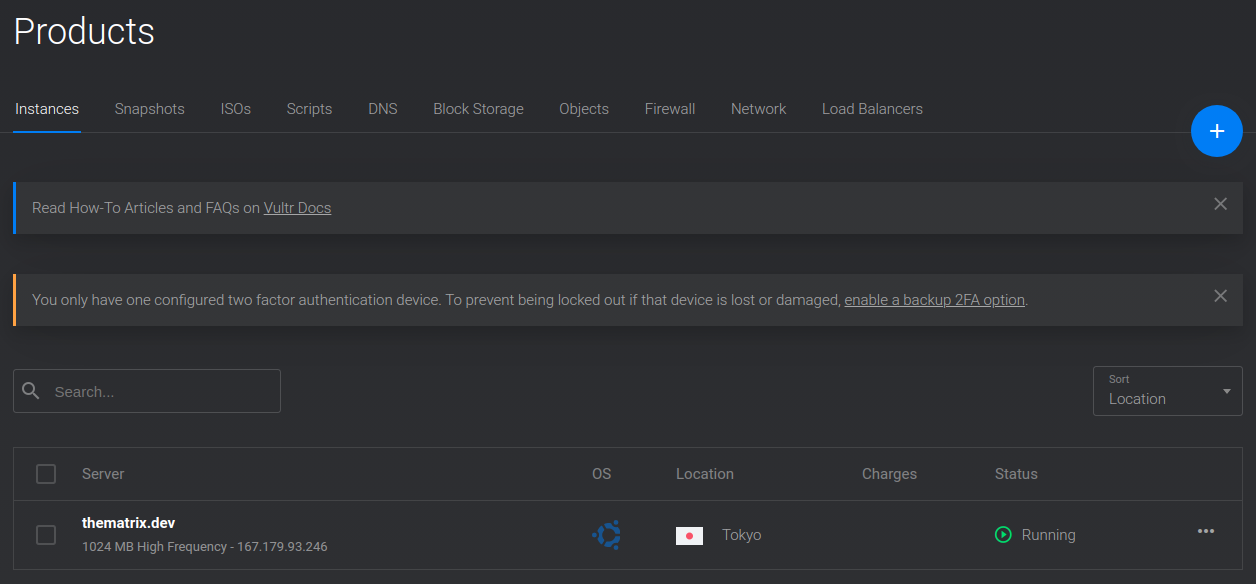
Copy the IP address.
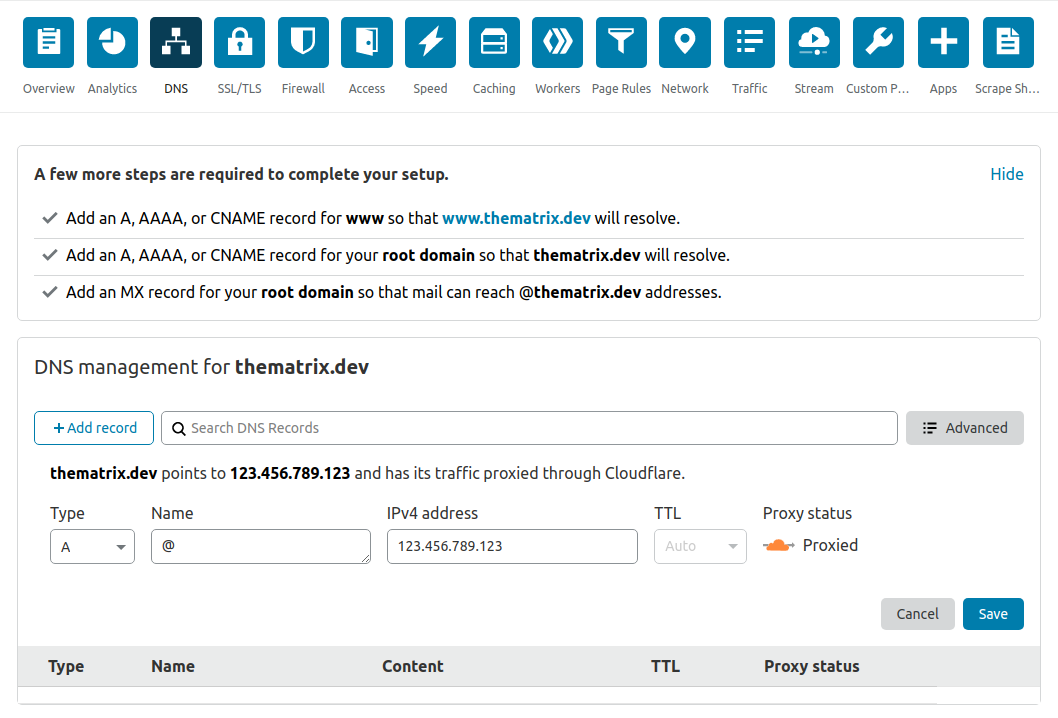
Setup server DNS on Cloudflare
Go to Cloudflare. Navigate to "DNS" page.
Click "+ Add record".
Type: A
Name: @
IPv4 address: (The IP address you have just copied)
TTL: Auto
Proxy: Proxied (orange color)
Click "Save"